
This is a sponsored post written by me on behalf of Cricut. All opinions are 100% mine.
With my love for throwing a party, decorating for holidays, and creating matching family shirts – it only made sense for me to pick up a Cricut. For the last two years I have been using my Cricut Explore to create so much fun things.
When I started my partnership with Cricut, they were in the process of launching a new product – the Cricut Joy. Similar to the Explore, the Joy will cut whatever you create. With the ease of the Cricut Design App, you can make your project at the ease of your fingertips then use your Joy to cut and write it for you.

The Cricut Joy has the ability to cut up to 20 feet at a time which is so helpful if you’re creating a quote for your wall, shirts for many family members, or even multiple decals for an accent wall. It is compact and doesn’t require a mat for cutting which allows you to take it anywhere!


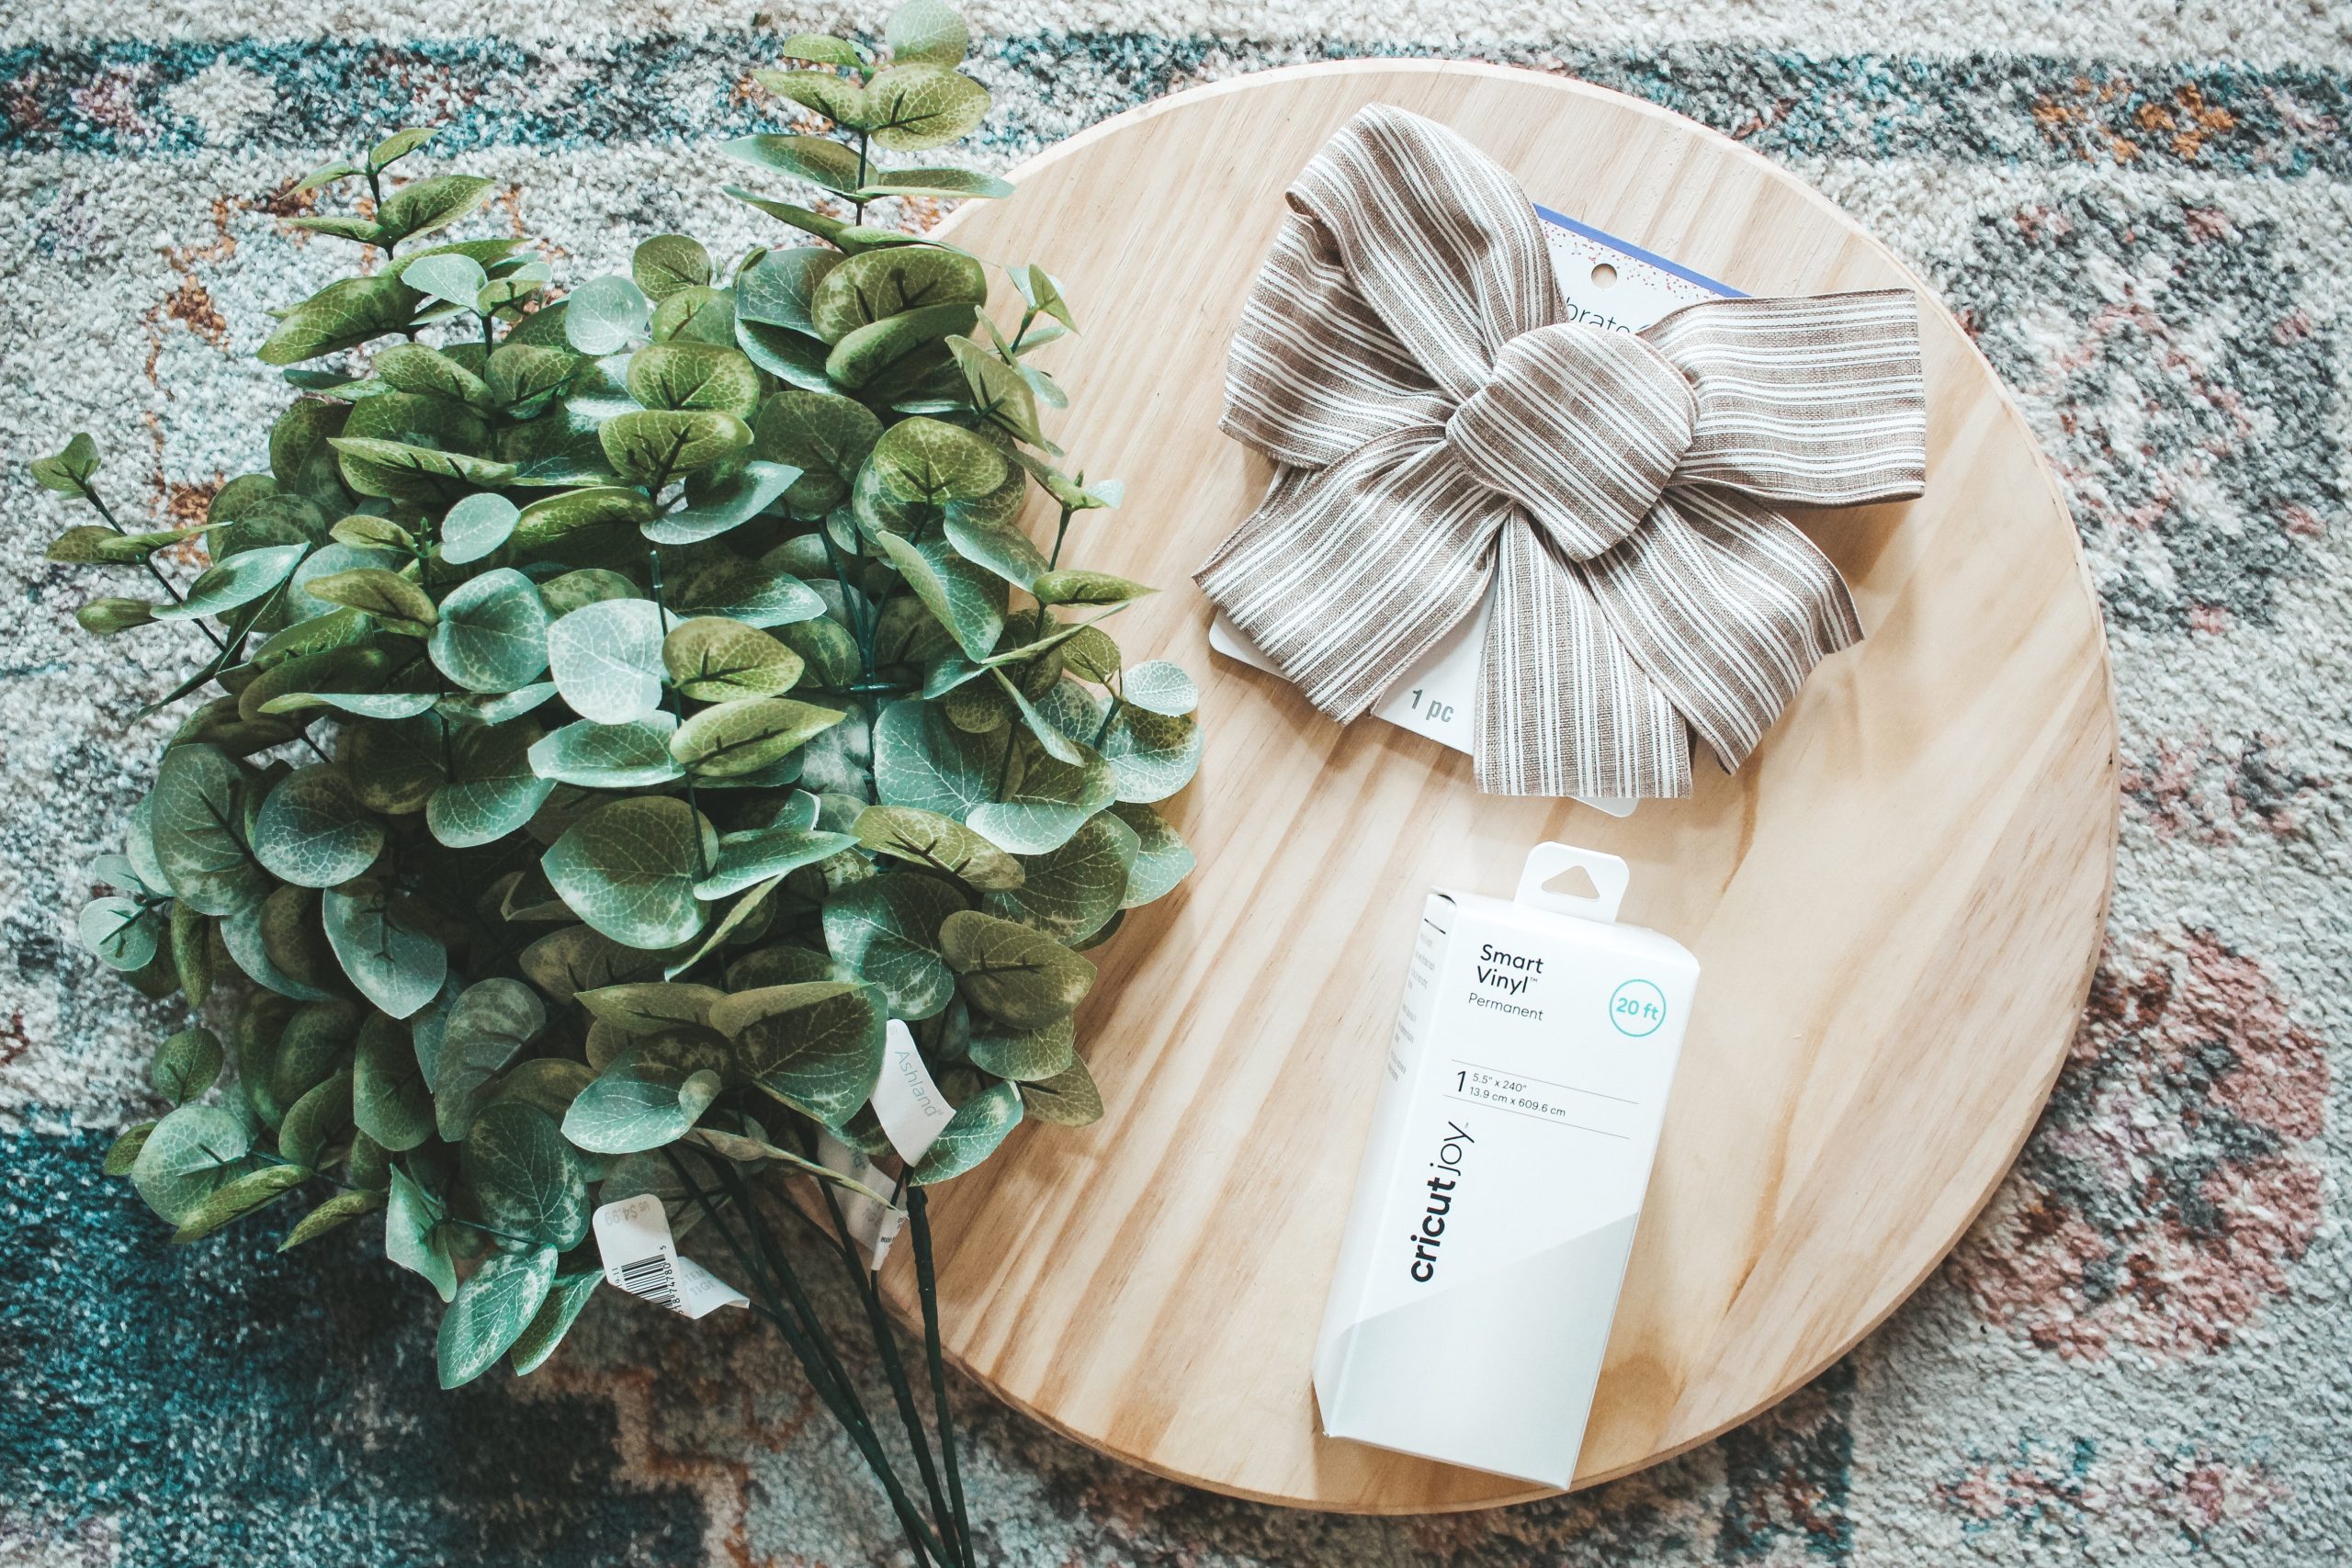
My first project created with my Joy was a front door hanger. I picked up a wood round from Home Depot for under $10. After taping and staining, I used my Joy to cut out the word ‘welcome’.

Once the vinyl was cut, I used to the transfer tape to remove it from the original vinyl and place it onto the wood round. Using the scraper tool I flattened out all of the air bubbles and removed the transfer tape.
With my hot glue gun I added the floral pieces and a bow to create a farmhouse look. Then I stapled a rope to the back for hanging on the front door.


For more Cricut projects ideas head to their blog here. With weekly home renovation project inspiration and tutorials, there is something for everyone!
