This post is sponsored by Cutting Edge Stencils. All reviews and opinions expressed in this post are based on my personal view.
Have you ever had a room that was missing something but you just couldn’t put your finger on what it was?
One of the first rooms to be completed in our home was the formal living room. This room is open and off to the right of the foyer. It’s one of the first things you see when you walk in.

For the last year I have felt like it needed a ‘wow’ element, though I couldn’t pinpoint what it was. I browsed wallpaper. I thought about painting it (again). Then I stumbled upon Cutting Edge Stencils.
I scrolled through pages of farmhouse styles until narrowing it down to the Hand Drawn Chevron pattern. It is simple enough to not overpower the room while still having enough going on to add to the feel.

Once the package arrived, I immediately took out the stencils to have it lay flat and be easier to use. Then I got everything I needed.
stencil
roller
paint brush
clip on level
paint tray
paper plate
painter’s tape
paper towels
paint
The walls in this room was painted a color called ‘racing the rain’ by Sherwin Williams. Because of the darker color and light accents, I decided to paint my stencil with a bright white flat paint.

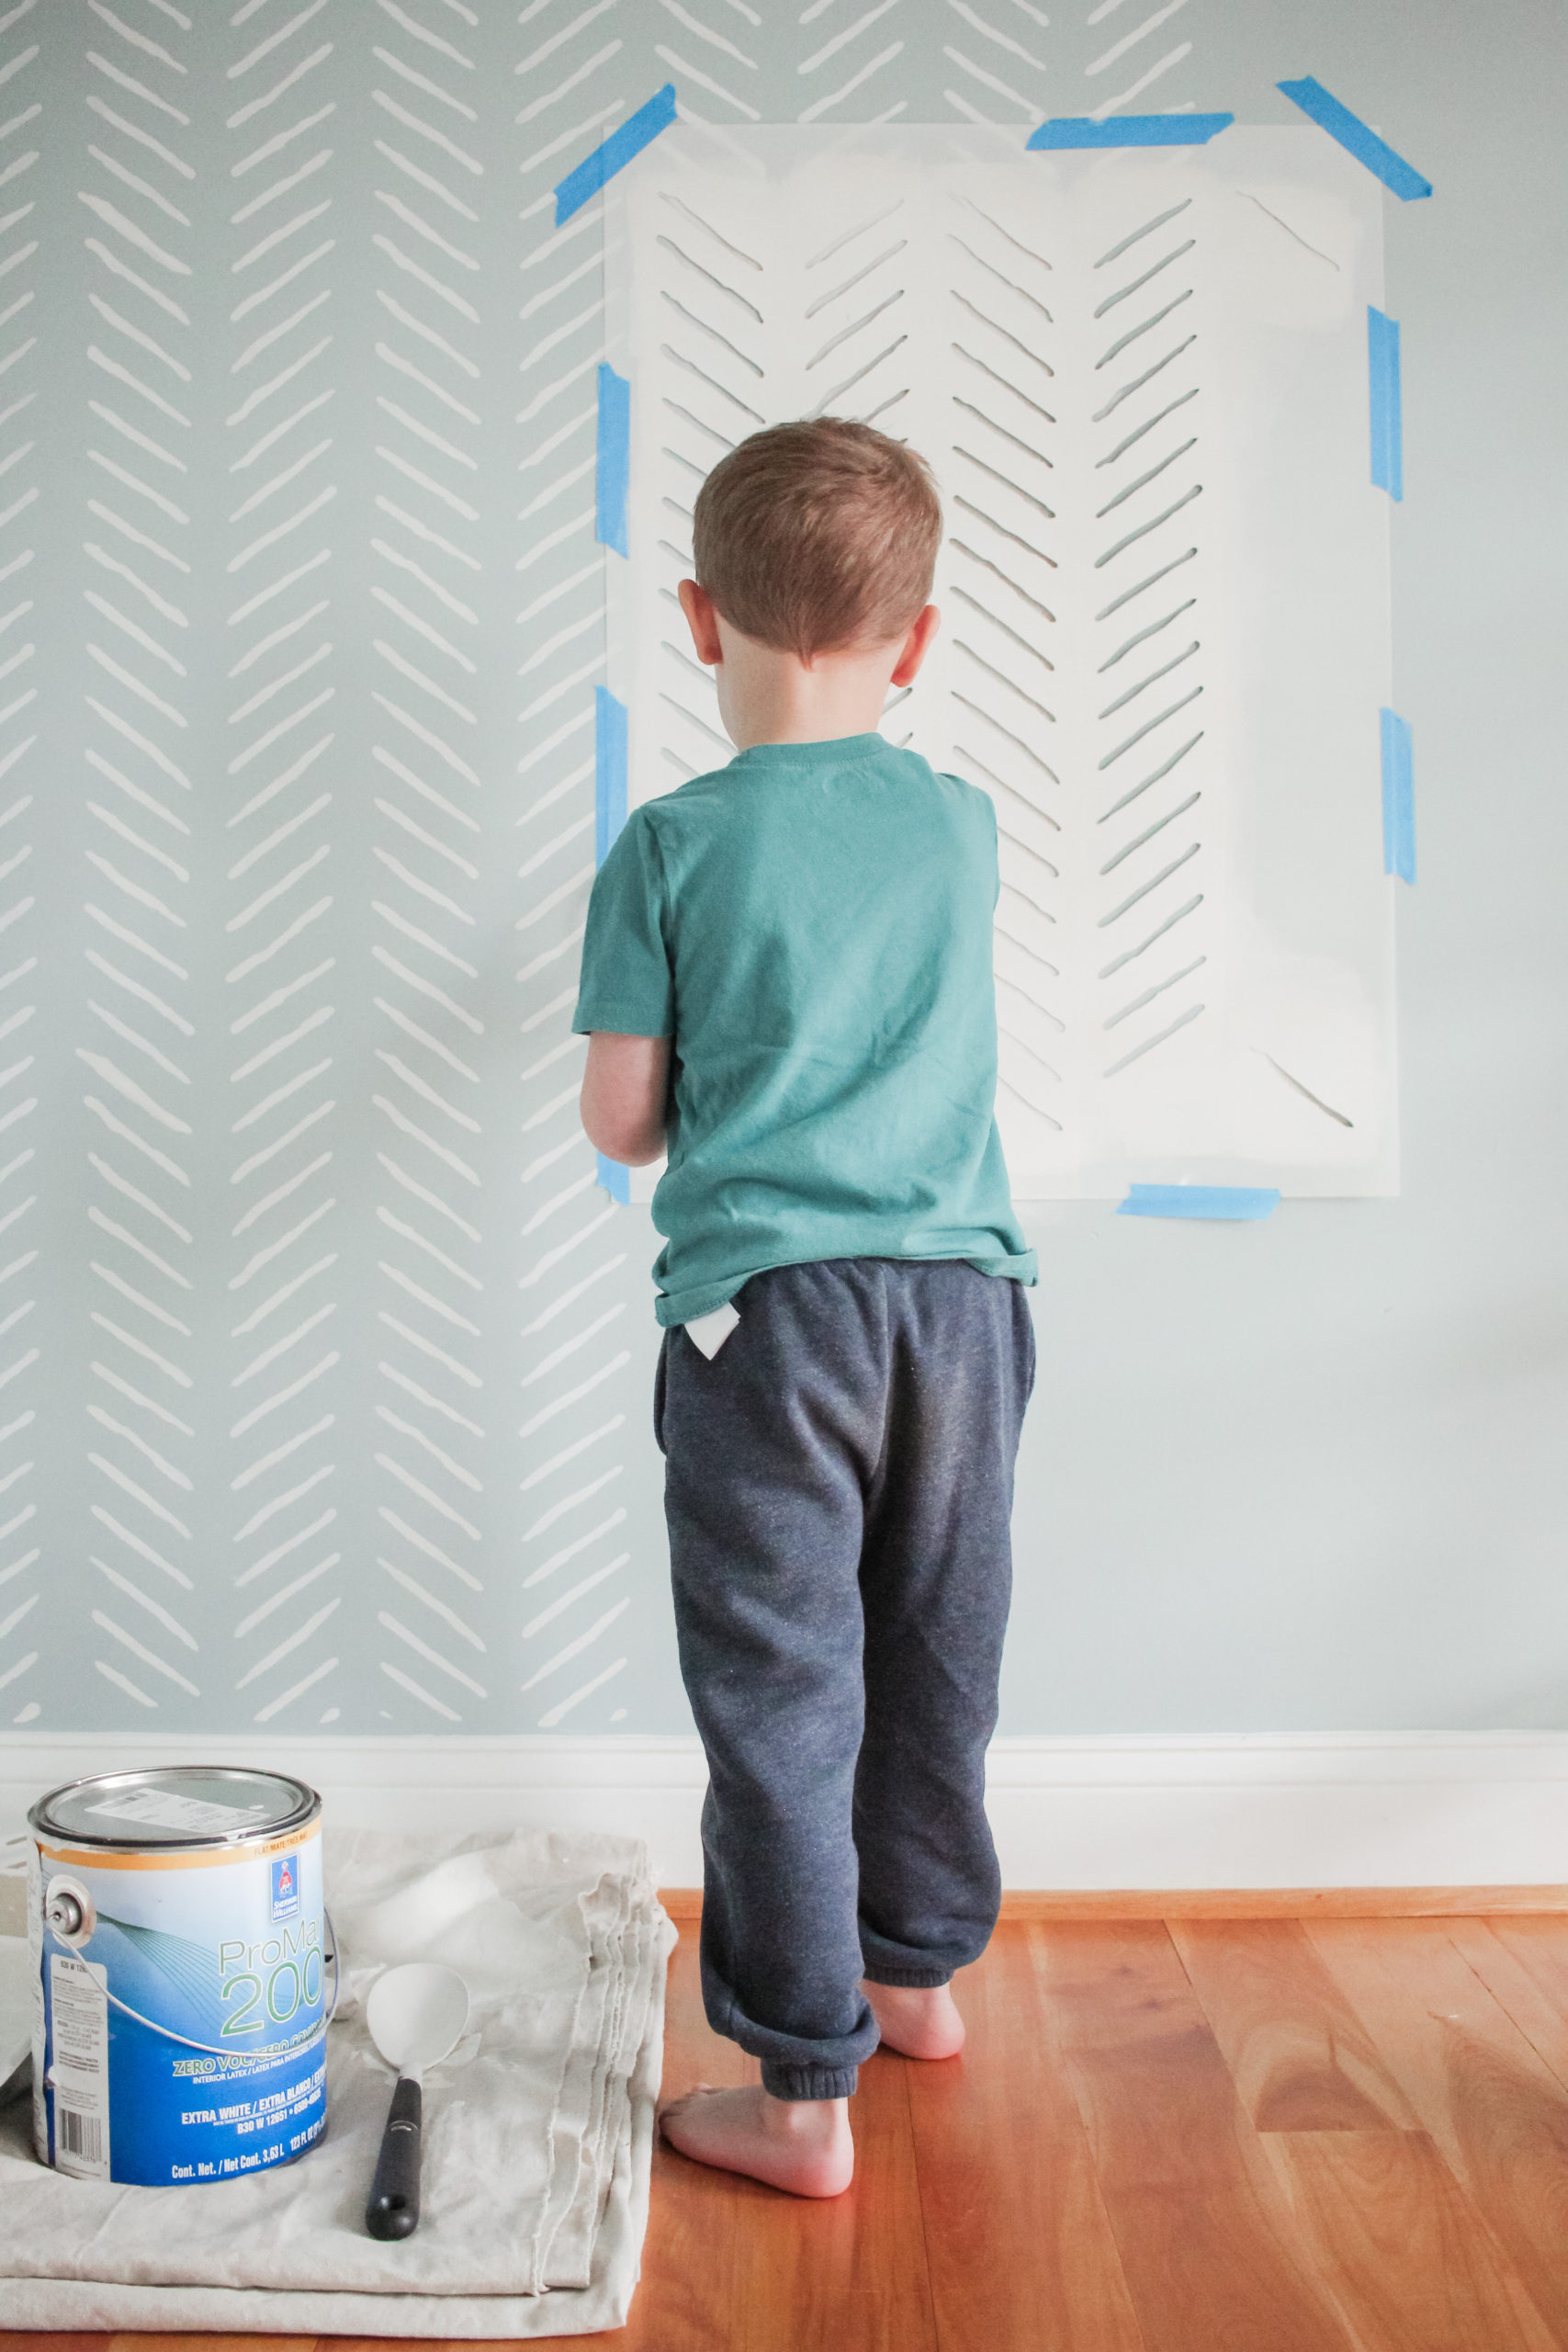
Starting in the top left corner I clipped the level onto the top stencil to ensure that my painting would go on straight. Walls aren’t always are level as they seem. I positioned the top stencil into place and used painters tape to adhere it while I painted. The paint brush and paper plate come in handy here. With some paint on my plate, I used the brush to dab the paint on and off until it was ready then painted the stencil onto the wall.


After completing the top stencil, I lined up the all over stencil with the previous paint marks and taped it in place. You see to make things easier on you the top stencil has specific lines left out to line up the next stencil with. I covered the roller in paint then rolled it onto the paper towel until it was just coated enough, but not too much. Then I used the roller to paint the stencil.

I continued this process from top to bottom, left to right until I was complete. It’s so simple that my kids even got to help me with this project. The flat paint (which is recommended) dries almost immediately and with the small amount you’re using at time, the whole wall is ready to redecorate by the time you’re done.
Check out the before and after pictures then head to Cutting Edge Stencils for more inspiration and maybe even some stencils of your own!
